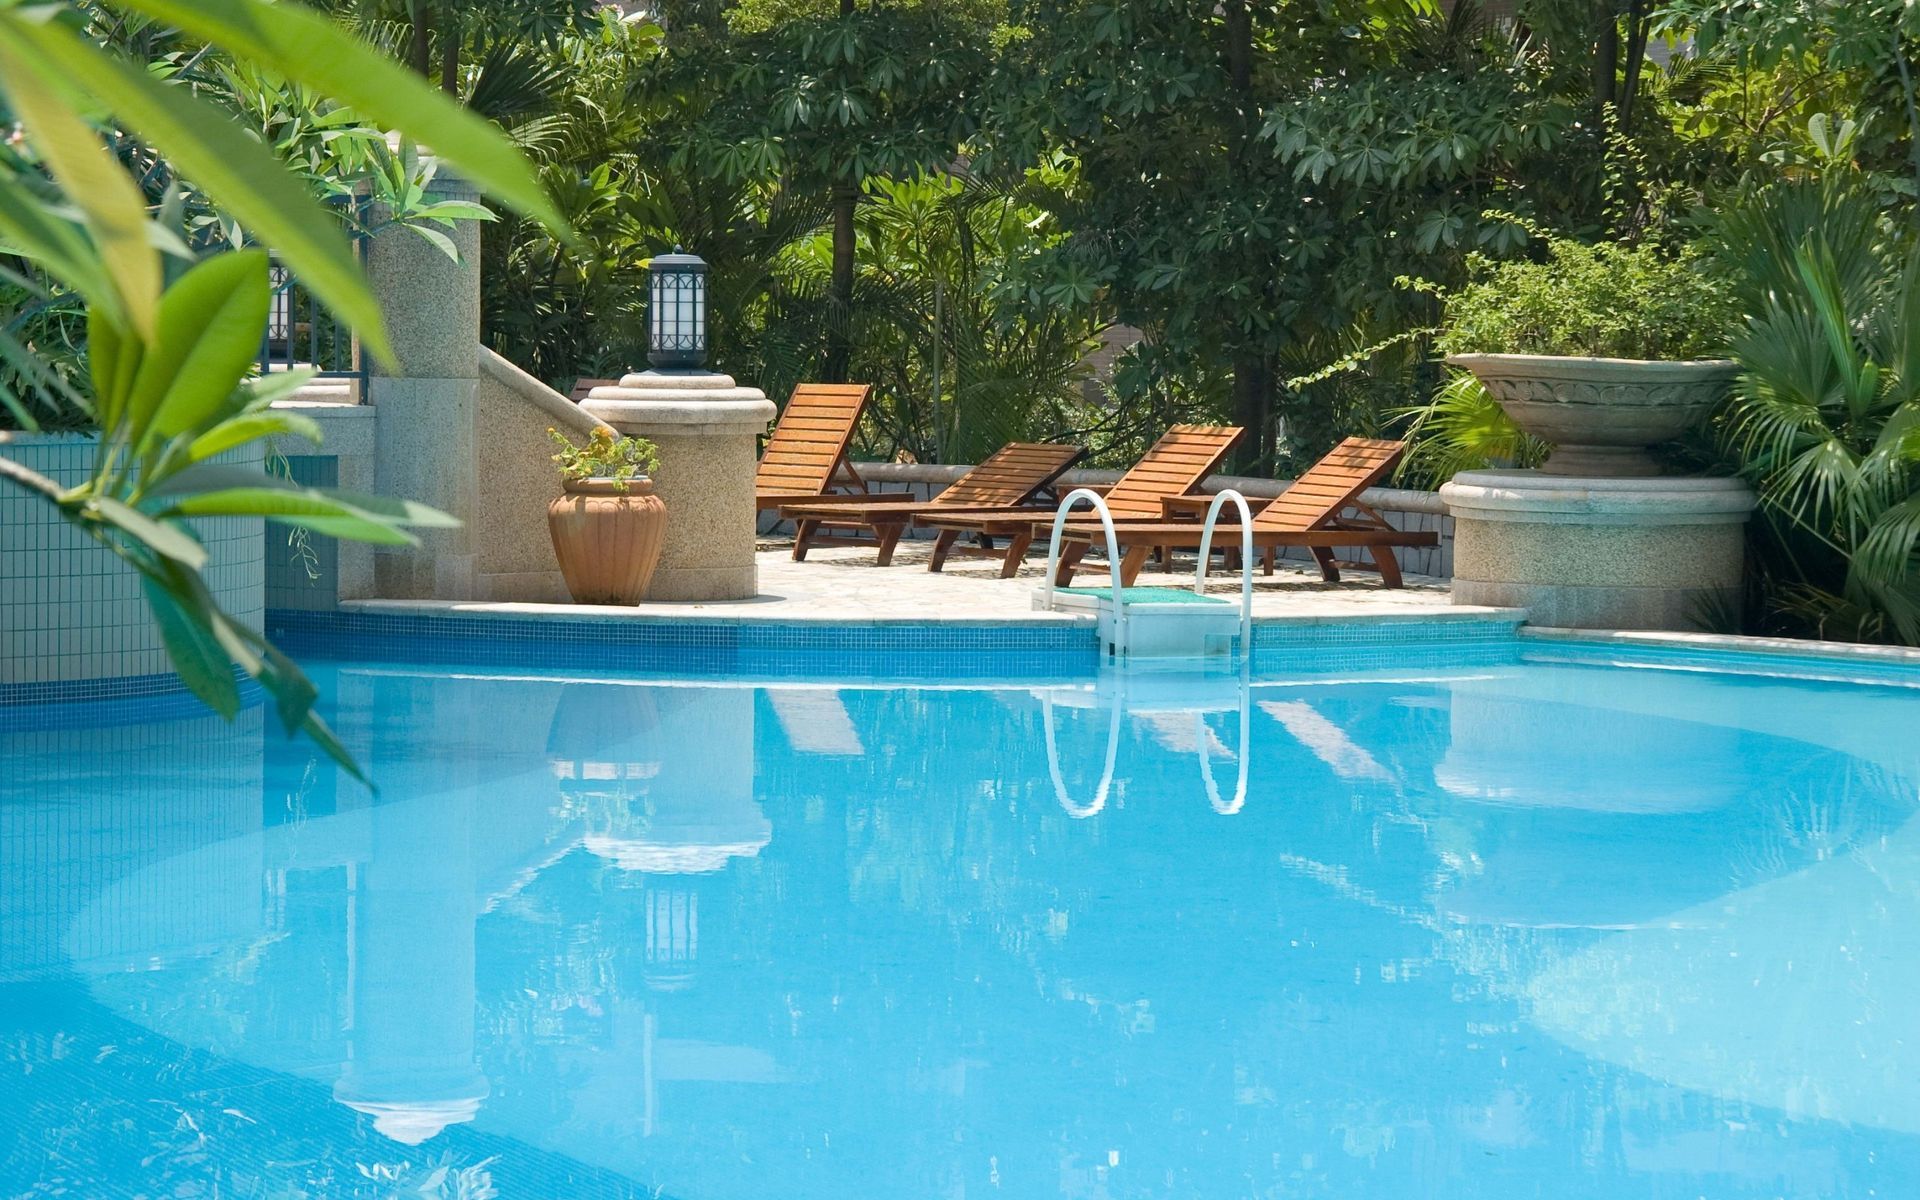
How to Winterize Your Pool

By udm - December 9th, 2019 in pool maintenance

winterize

How to Winterize Your Pool

It’s that time of the year again. During winter time, many Southern pool owners find it beneficial to winterize their pool (get it ready for the cold winter months) so that they don’t have to worry about it for the next few months.

Winterization of the pool saves energy, money, and time when reopening it in the spring.

Why Winterize Your Pool?

During summer, your pool remains open and attracts a variety of contaminants like dead leaves, twigs, insects, or occasional critters as well.

But, cleaning is not a big deal in summers as you are already maintaining your pool with regular brushing, vacuuming, and skimming. You remove these elements before they settle in and affect the pool water.

Now, imagine the same elements attacking your pool in winters when you don’t use it regularly. The debris ends up in your pool and decays its water for months. As a result, they clog the skimmer and ruin the pool chemistry.

Moreover, you’ll have more work than necessary when it comes to opening the pool for the next swim season.

However, you can avoid these hassles by using the right winterize pool kit. If you’re not sure, we recommend calling a professional pool maintenance expert to assist you with the closing of your pool.

When to Close Your Pool

The timing of winterizing the pool is as important as the process itself. If the local temperature falls below 65°F in the offseason, wait for the temperature to reach below this level to winterize the pool. This way, you can quickly test, clean, and balance pool water until it’s time to close.

However, if you see several warm days during winters when the temperature is above 65°F, use the warm spell as a reason to test and balance the pool chemistry. Since this process involves chemicals and a pool kit, it’s good to consult a pool professional to make sure you’re taking the right decision.

How to Close Your Pool During Winter Months

The process of winterizing the pool may vary as per the type of pool, kind of water, and equipment you use. Also, the climate of your area will affect the amount of winterizing.

Here is the step by step process to follow:

Step 1: Clean the Pool

Before you winterize your pool, give it a good cleaning. Use a telescopic pole with a pool brush to scrub the wall and floor. Don’t leave any nook or corner of the pool while brushing it. This will not only kick up the dirt settled on the floor but also disrupt the growth of any algae spores. And if you spot any algae symptoms, use an algae brush for a thorough cleaning.

Step 2: Test the Pool Chemistry

Balance the water chemistry of your pool to protect it from corrosion and scaling during winter. You can adjust the water levels for alkalinity, chlorination, pH, and hardness by using the right winterize pool kit.

The recommended levels are:

  •    pH levels ideally between 7.2 and 7.6
  •    calcium hardness at 175-225 ppm
  •   alkalinity between 80 and 120 ppm is better for a gunite pool and 125-150 for other materials
  •  chlorine levels from 1-3 ppm are optimum

Make sure to measure these levels precisely to prevent the growth of algae or infestation of contaminants in your pool.

Step 3: Regulate the Pool Chemicals

After testing and adjusting chlorine levels, add winterizing chemicals to prepare the water for the cold months ahead. Choose a readymade kit and use it according to the maker’s instructions to winterize the pool.

Ingredients of the kit can vary, depending on the type of water in your pool. It may include algaecide, metal sequestrant (for pools using water from the well), pool enzymes, chlorine tablets, and antifreeze.

Pour the contents in a bucket and then into the pool water. If you have a vinyl liner pool, switch on the pool filter when adding these chemicals.

Step 4: Shock the Pool

A few days before closing your swimming pool, shock the water for one last time in the season. The process involves running the pool pump overnight and distributing the shock throughout the pool. Also, test the water the next day to ensure the perfect chemical balance before you winterize it.

Here, it is essential to follow the right procedure and avoid chemical mishaps that can cause damage. So, instead of broaching this process yourself, take help from professional pool maintenance experts.

Step 5: Reduce the Pool Water

If you want to prevent freeze damage to your pool water, reduce its level when winterizing. The water level below the tile border or the bottom edge of the pool skimmer is an ideal point.

For rainy winters of California, it is always advisable to check water levels at regular intervals even after closing the pool.

Step 6: Clean the Pool Filter and Pumps

Nasty bacteria and debris settled in your filter for the entire winter can wreak havoc on the pool water. It is essential to remove this gunk before closing the pool if you want to start your next swim season with a clean and healthy pool.

The filter has a plug at its bottom that allows it to drain correctly. If your filter has air relief valves on the top, open them up, too. Keep the multiport valves at a ‘winterize‘ position and unplug the pressure gauge.

Now, drain the pump and keep it turned on for 1-2 seconds to blow out the remaining water from the impeller. At this step, blow out all other lines of your pool as well.

Remember, purging the lines is a complex process, and you may inflict damage to your pool if not done correctly. Take help from professional pool maintenance companies to handle this process accurately.

Step 7: Install the Pool Cover

The last step of the way to winterize your pool is to cover it. Choose a pool safety cover that will keep the water safe and prevent debris from falling into it. While mesh covers are light in weight, you can also buy solid-surface safety covers for a tight fit. Be sure to use a pool cover pump for removing pooling water.

These are the steps to ensure proper winterizing of your swimming pool. Although the process isn’t very complicated, some levels require the expertise and precision of the professionals. So, do not refrain from hiring a pool pro even if you are a seasoned DIYer.

Previous Article

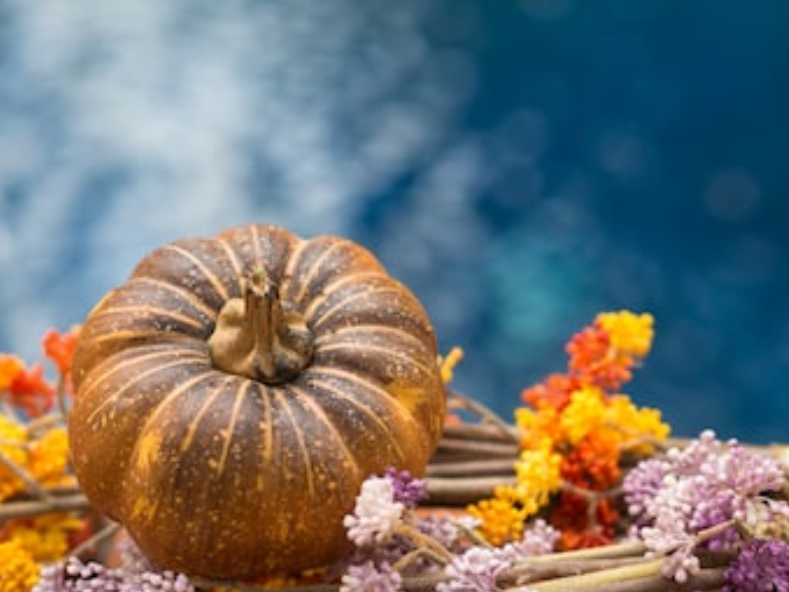
Thanksgiving by the Pool: How to Celebrate the Holiday Outside